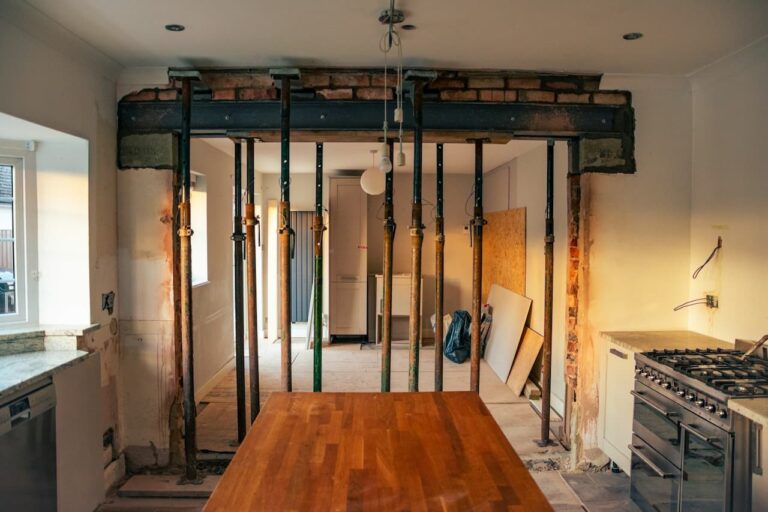
Transforming your home with a house extension brings extra space, light, and value. Many homeowners now choose to boost the comfort and energy efficiency of new spaces by fitting underfloor heating. This modern solution makes rooms warm from the ground up, tackles chilly floors, and cuts out the need for bulky radiators. When planned as part of a house extension with underfloor heating, you’ll see better energy savings and a more usable living area.
Combining these two projects is becoming more common, especially in open-plan kitchens, living rooms, and extensions designed for year-round use. This guide explains the key stages of installing underfloor heating, with practical tips to help the process run smoothly.
Planning and Preparing for Underfloor Heating in Your House Extension
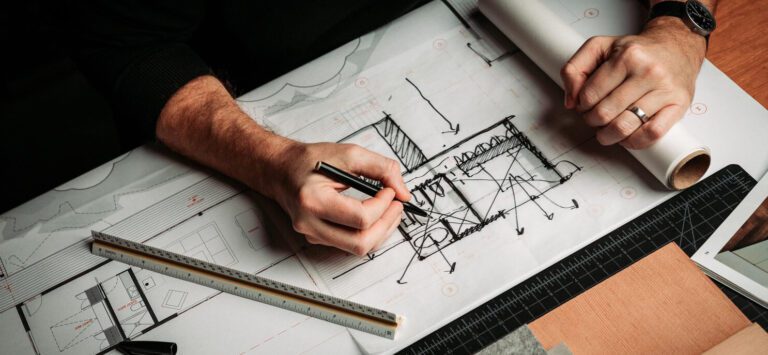
Every successful underfloor heating setup starts with the right planning. Not every space, floor type, or budget suits the same system, so upfront assessment matters.
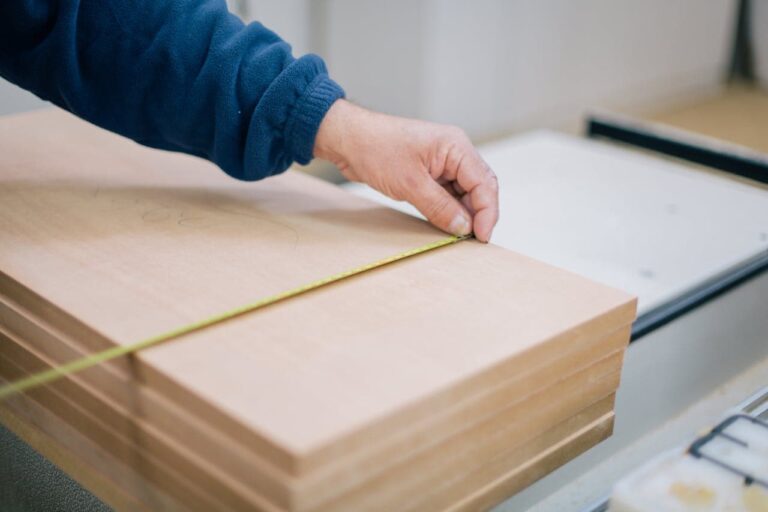
The flooring you choose will affect your heating’s performance. Stone and tile hold heat well, while wood and carpet need careful system selection to avoid overheating. Getting the insulation right is just as important. Poor insulation means heat is wasted and running costs rise.
Take accurate measurements of your extension before choosing a system. Sketch the layout and work out furniture and door placements to see how heat will circulate. At this stage, decide between electric or water-based underfloor heating. If you add it during the extension’s design and build phase, there’s less mess, disruption, and cost compared to retrofitting later.
For inspiration on integrating modern comforts like this, the Thames Ditton Surrey renovation blends open spaces, lots of light, and underfloor heating for a high-end finish.
Choosing the Right Underfloor Heating System
There are two main types of underfloor heating: electric (dry) and water-based (wet).
Electric systems use heated mats or wires on top of an insulation layer. They’re easier and quicker to install, perfect for small to medium spaces. Running costs can be higher, but they don’t affect the floor height much.
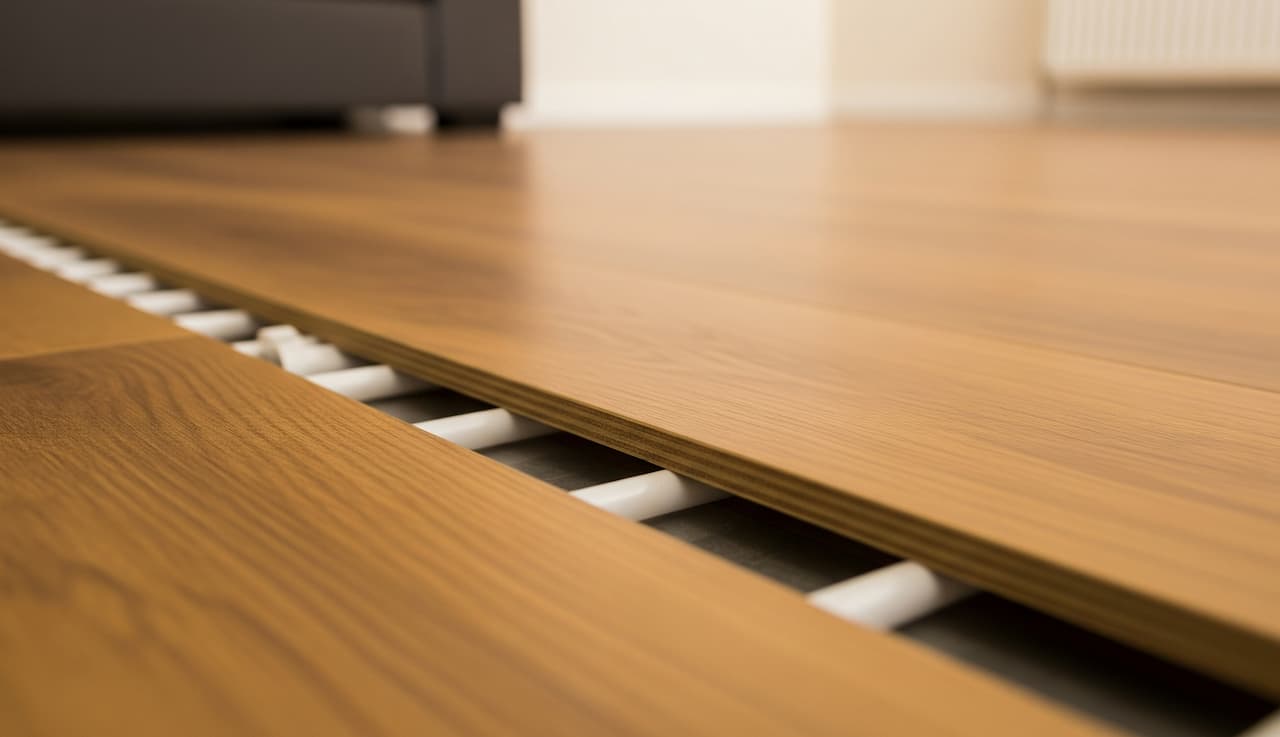
Water-based systems push warm water through pipes beneath the floor. They suit larger extensions, especially if you’re already updating the plumbing. These systems are cost-effective long term, offer even heat, but require more floor depth and a higher upfront spend.
When making your choice, think about:
- Subfloor type and planned floor finish
- Upfront vs. ongoing costs
- Extension size
- Current heating and plumbing
- Desired control features and zones
Site Assessment and Preparation
Before laying anything, inspect the subfloor. Is it level, dry, and stable? Any weak or damp spots should be sorted first.
Check if waterproofing or a damp-proof membrane is needed. Lay insulation boards or screed as recommended by the manufacturer. Proper insulation stops ‘heat loss’ to the ground.
Professional checks at this stage save headaches later. Expert fitters know how to spot issues and will make sure work meets UK building standards.
Step-by-Step Underfloor Heating Installation Process
Here’s what to expect during the installation of underfloor heating in your house extension:
Floor Insulation and Preparation
Getting insulation right is key for energy efficiency. Insulation boards or a thermal screed base help keep warmth above floor level.
Insulation methods include:
- Rigid boards for timber or concrete subfloors
- Foil-faced insulation for extra reflection
- Perimeter boards to cut edge heat loss
A good installer will tape joins between boards and create a ‘thermal break’ around walls to stop heat leaking away.
Laying Out the Heating System
With insulation in, heating elements are next.
For electric systems:
- Position mats or cables based on room layout
- Fix with adhesives or clips, ensuring even spacing for consistent heat
For water-based systems:
- Lay flexible plastic pipes in loops or spirals
- Fix pipes using clips or tracks over insulation
- Connect pipes to a manifold for even water flow
Always follow the manufacturer’s fitting guide and UK wiring standards. Cover pipes or wires with a suitable screed before final flooring goes down.
During installation, expert help matters. For peace of mind and technical support, consider plumbing and heating services from experienced professionals.
Connecting Controls and Testing the System
Next comes control wiring and the first test.
- Fit programmable thermostats to each heated zone
- Wire controls to mains power (for electric) or connect the manifold to the boiler (for wet systems)
- Pressure test all pipework for leaks
- Check wiring and connections with a multimeter
Initial slow heating dries out screeds safely. Good practice is to run the system at low settings for a few days before using full heat, which protects your new floors.
Aftercare and Long-Term Maintenance for Underfloor Heating
Once installed, underfloor heating is low-maintenance but benefits from simple routine care. Tasks include:
- Visual checks for damage or loose connections
- Annual flushes for wet systems to keep pipes clear
- Checking thermostats and controls work as expected
- Cleaning or replacing filters where fitted
Plan a professional service each year to spot wear early and keep comfort levels high. The Addlestone renovation project shows how attention to ongoing care protects your investment for years. A house extension with underfloor heating turns cold empty space into a warm, inviting hub for family life. The process is straightforward with planning, proper insulation, and the right system. By getting advice from trusted installers like TN Design & Build, you’ll enjoy extra space, lower bills, and a more comfortable home. Thinking about your own project? Get expert guidance and enjoy comfort from the ground up.
Thinking about installing underfloor heating in your home?
Get in touch with our team to discuss your project and get a free, no-obligation quote. You can call us on 01932 848 174 or send a message.